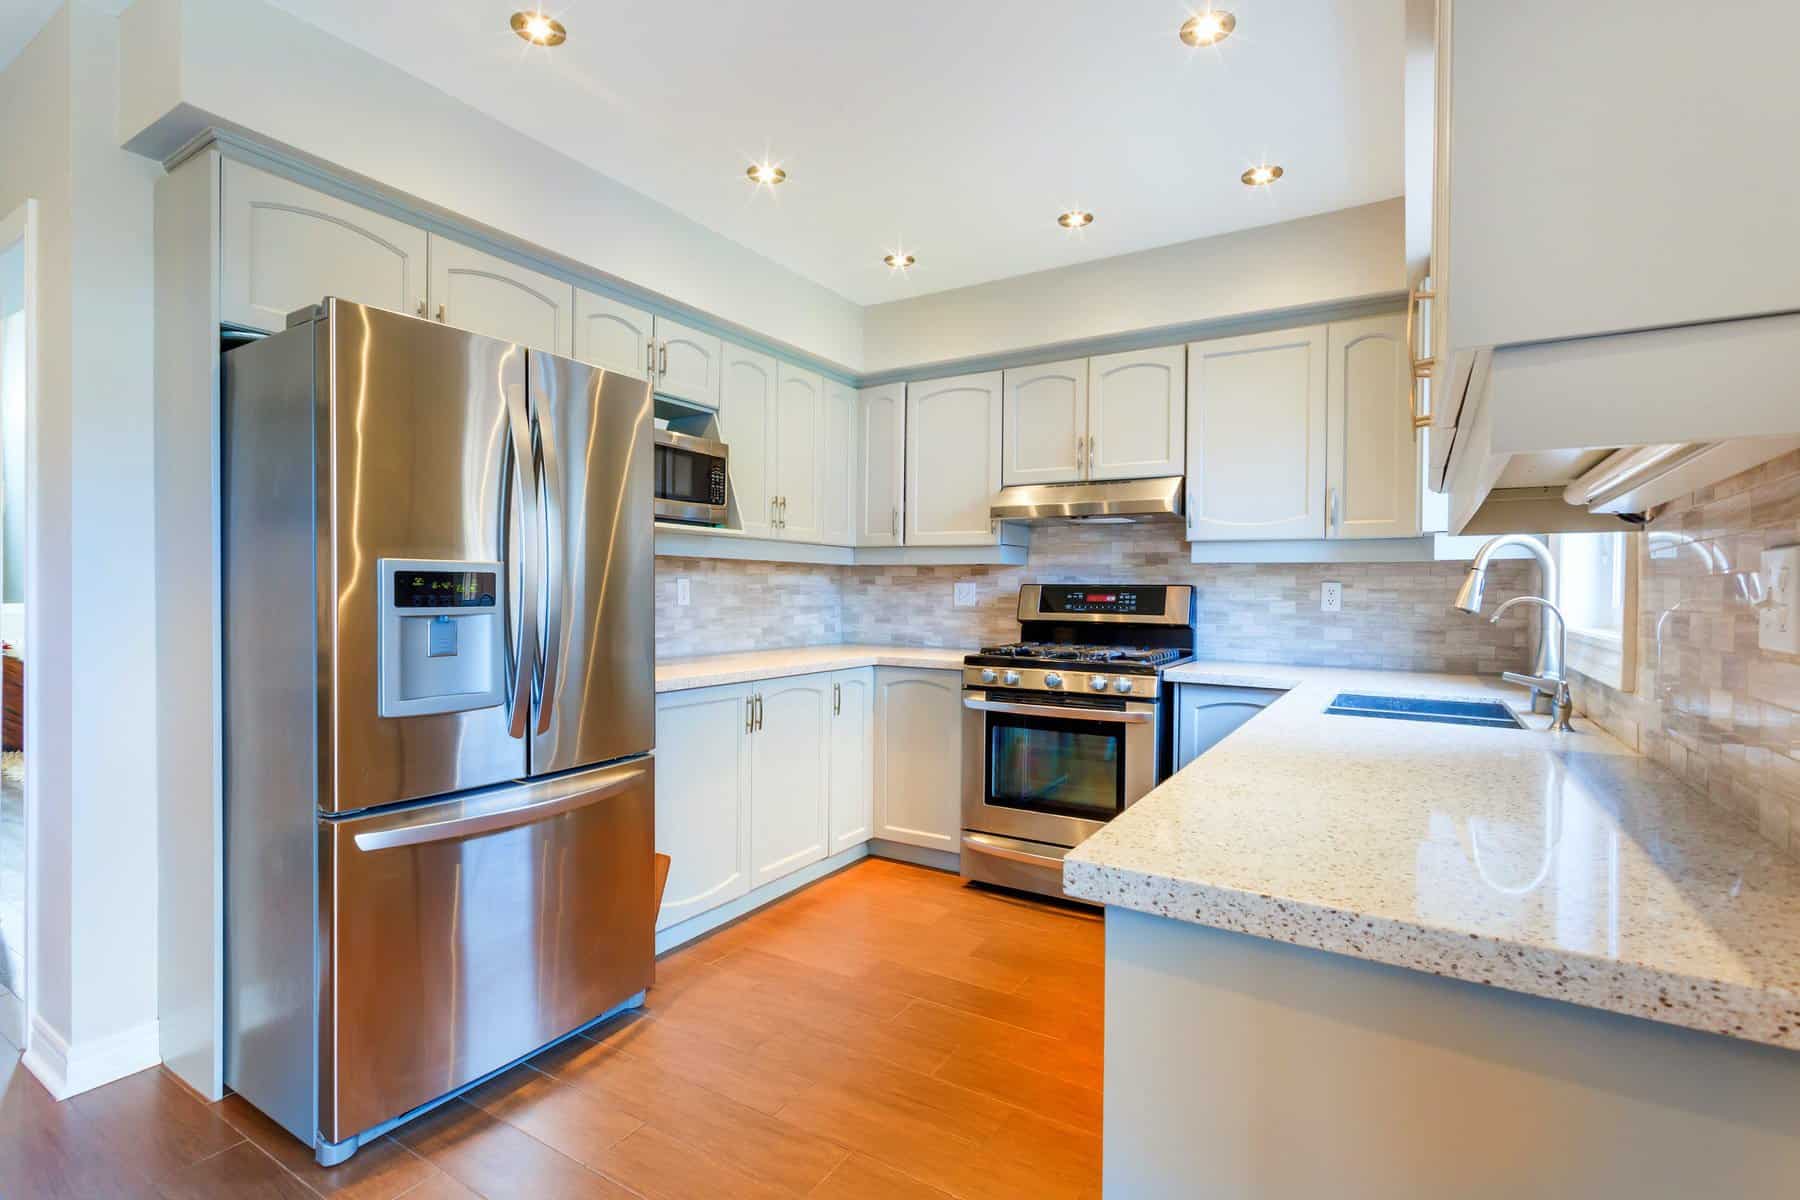

Search for painting cabinets without sanding, and you will find plenty of videos that make it look like a one-weekend job. Some of those finishes look great on day one and start chipping a few months later. I get asked about DIY painting kitchen cabinets often here in Lexington. My honest answer is that the paint is rarely the problem. The trouble usually starts with prep and patience. That is why our professional cabinet painting work starts with a walkthrough, not a paint can.
Below are the mistakes I see most, why they happen, and what each one costs you in time and redo work. I will back the big points with instructions from the paint makers themselves.
Why DIY Painting Kitchen Cabinets Looks Easier Than It Is
On video, the job looks like three steps: clean, paint, and rehang. In a real kitchen, it is closer to ten. Every door has two sides. Every side needs primer and usually two coats of paint. Each coat needs time to dry before the next one goes on.
Then there is the part nobody films. Your kitchen is out of service while the doors sit on sawhorses in the garage. Meals get harder, and the project that was meant to take a weekend can stretch into the next one. For many homeowners, the color is not the real worry. The worry is spending weeks on cabinets that end up looking worse than before.
7 Common Cabinet Painting Mistakes and What They Cause
Here are the mistakes that show up most, in plain terms. Each one is fixable, but the fix often means sanding or stripping the new paint back off.
| Mistake | What it leads to |
|---|---|
| Skipping the degreaser | Paint that peels near the stove and around the handles |
| No sanding and no bonding primer | Paint that scratches off with a fingernail |
| Skipping primer on bare or stained wood | Wood grain and stains showing through the color |
| Using regular wall paint | A soft finish that scuffs, sticks, and shows brush marks |
| Painting doors while they hang | Drips, missed edges, and paint on the hinges |
| Rushing the second coat | Wrinkles, a tacky feel, and early peeling |
| Rehanging doors too soon | Doors that stick to the frames and pull paint off |
The first two cause most of the redo work I get called about. Sherwin-Williams recommends cleaning cabinets with a degreaser to remove the grease and oils that build up on kitchen cabinets over time. Grease is hard to see, but paint finds every spot of it. Their steps also start by taking off the doors and hardware, which rules out mistake number five.
The Truth About Painting Cabinets Without Sanding
This is the shortcut most people ask about. The honest answer is that it can work, but only under the right conditions. Sherwin-Williams says that with its bonding primer, sanding may not be needed on most clean surfaces. The catch is the test that comes first. You apply a small sample, let it dry, and check that it truly grips.
Their instructions also call for a surface that is clean, dry, and dull. A glossy factory finish is not dull. After the primer dries for at least 24 hours, they also recommend a light sand with very fine sandpaper before the first coat of paint. So even the no-sand method still includes some sanding.
That is the step the short videos leave out. The bond under the paint decides how long the paint lasts.
Waiting Is Part of the Job
Dry time is where most DIY schedules fall apart. Paint can feel dry long before it is ready for another coat. Benjamin Moore lists a 16-hour recoat time for its ADVANCE paint, a common choice for cabinets and trim. Here is how the waiting adds up.
| Step | Typical wait |
|---|---|
| Primer adhesion test | Until the sample is fully dry, per the label |
| Primer before the light sand | At least 24 hours (Sherwin-Williams) |
| Between finish coats | Up to 16 hours for some enamels (Benjamin Moore) |
| Backs of every door | Repeat every step above |
Add those waits together, then repeat them for the back of every door. That is how a weekend plan turns into several weekends. For comparison, our typical kitchen cabinet painting project takes two to four days. A crew can prime one batch while another batch dries, so the waiting overlaps instead of stacking up.
A Safety Check for Older Homes
If your home was built before 1978, this one matters most. Sanding old paint layers can release lead dust. The EPA recommends that homeowners hire lead-safe certified contractors for renovation and painting work in homes built before 1978. You can read more on the EPA lead safety page.
If you do hire help for an older home, ask to see the firm’s lead safe certification. It is a fair question, and a good painter will answer it right away.
When DIY Painting Kitchen Cabinets Makes Sense
I will be straight with you. Not every cabinet project needs a crew. A single bathroom vanity in good shape, in a newer home, is a fair weekend project for a patient homeowner. Use this quick check to see where your project lands.
| Likely fine to do yourself | Worth a professional look |
|---|---|
| One small vanity | A full kitchen with many doors and drawers |
| Clean, newer cabinets | Heavy grease buildup near the stove |
| Home built in 1978 or later | Home built before 1978 |
| No deadline | A move, sale, or holiday deadline |
| Light color over light color | Dark wood going to white |
If most of your answers land in the right column, a free estimate gives you a real number to compare against your own time. There is no cost to find out.
How We Handle Cabinet Projects in Lexington and Nearby
At Despres Painting, we are a family-owned painting company that has served the Columbia area since 2020. We paint cabinets for homeowners in Lexington, Irmo, Columbia, and Forest Acres. Our process is built to protect your kitchen and your calendar. Here is the plan.
You will know what is happening each day and when your kitchen will be back. No guessing, and no half-painted doors leaning in the garage.