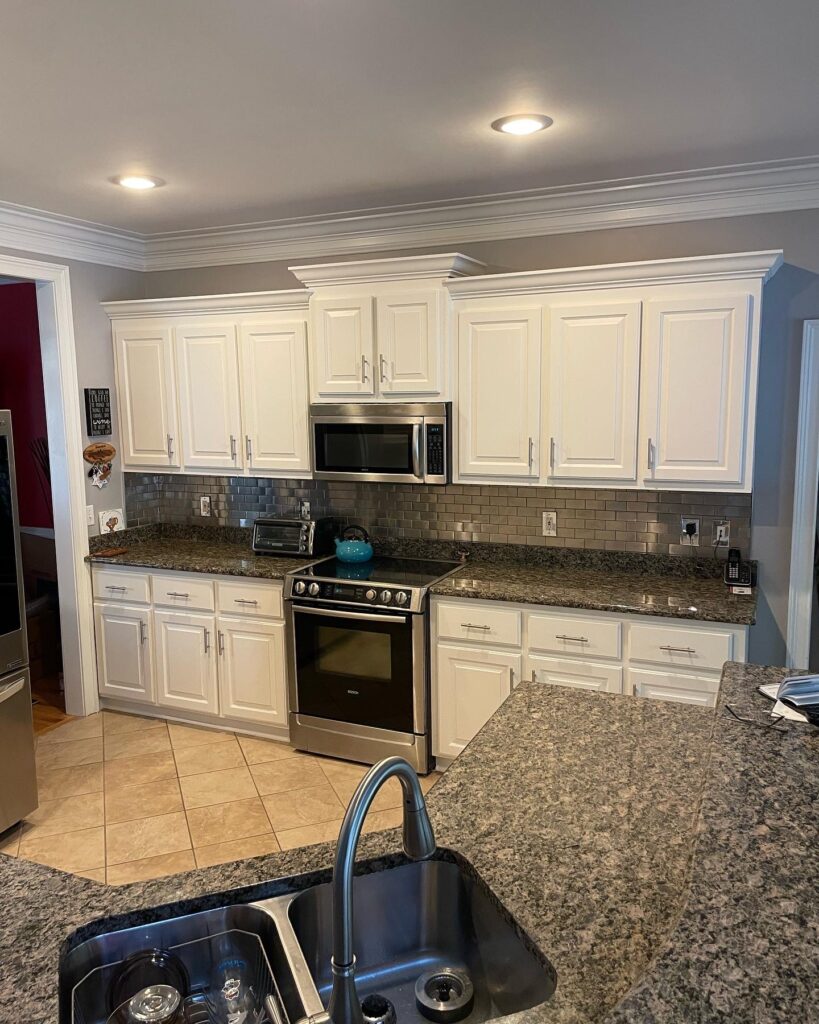
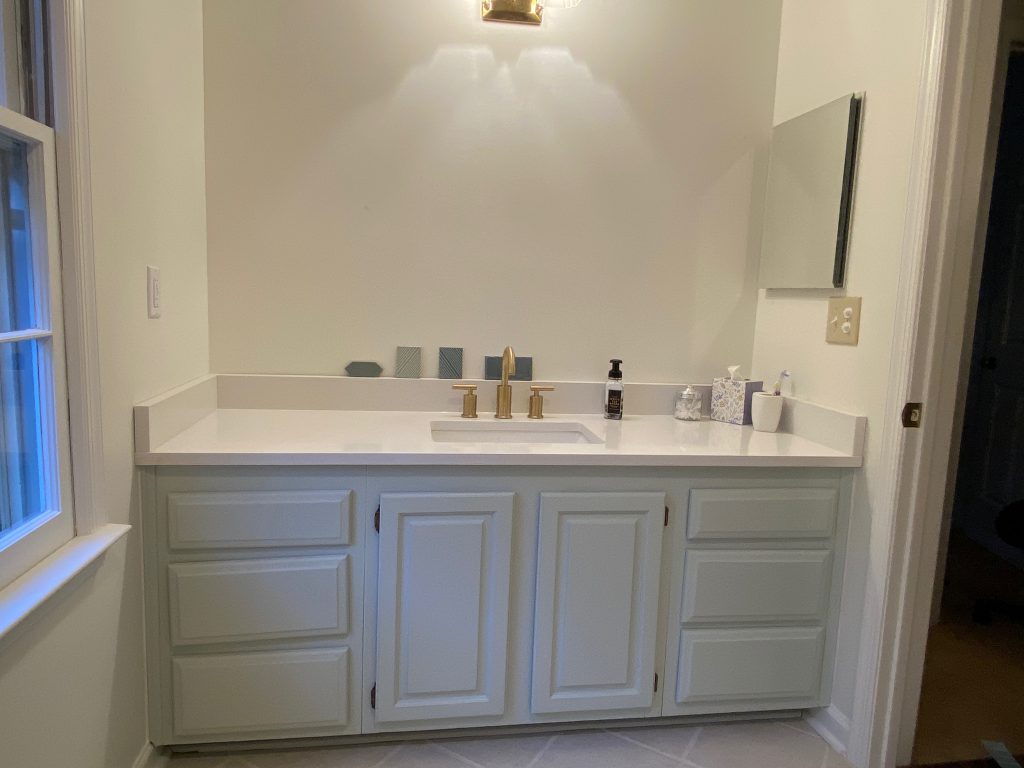
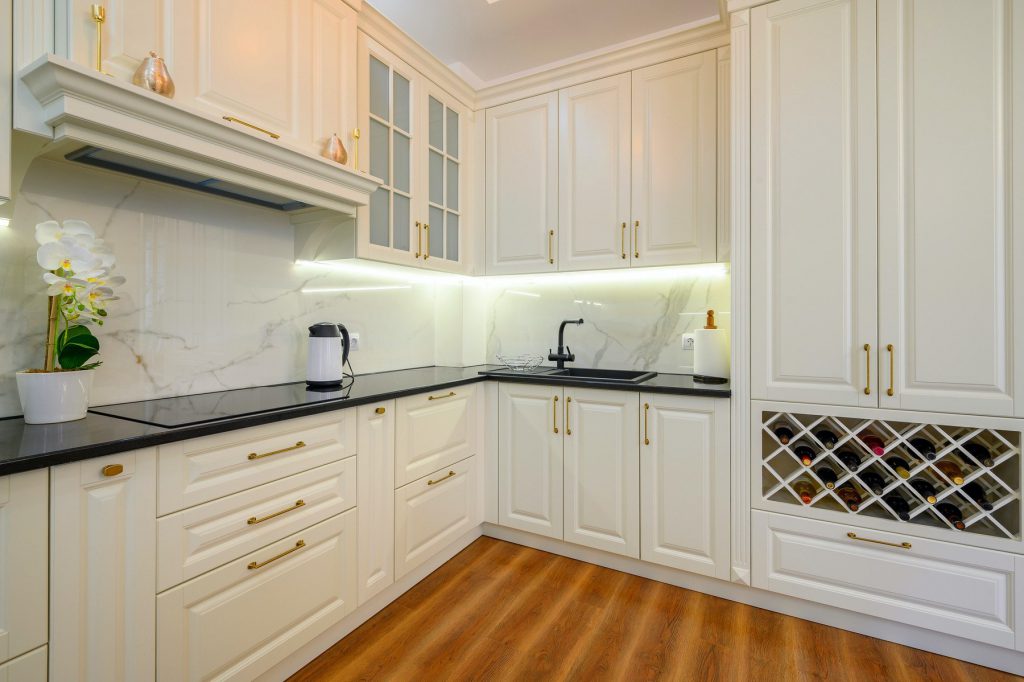
Cabinets are one of the most visible features in any home, whether in the kitchen, bathroom, or laundry room. Over time, repeated paint jobs, poor application techniques, or simply old age can lead to thick, uneven paint buildup that makes cabinets look bulky and outdated. Instead of replacing them—which can be expensive—you can strip paint and refinish them for a fresh, updated look.
Stripping paint requires careful planning, the right tools, and patience. Whether you’re dealing with layers of latex or oil-based paint, this guide will walk you through the best methods to safely remove paint buildup, repair any damage, and achieve a smooth surface ready for a new finish.
Identifying Excessive Paint Buildup
How to Tell If Paint Buildup Is a Problem
Not all cabinet imperfections are caused by paint buildup. Normal wear and tear, like minor scuffs or dulling, doesn’t necessarily mean there’s too much paint. However, if you notice any of the following, paint buildup may be the issue:
- Thick, uneven layers of paint, especially around edges and corners.
- Paint accumulation in grooves and recessed areas (e.g., shaker-style cabinets).
- A bumpy or textured surface, often referred to as an “orange peel” effect.
- Peeling, cracking, or rubbery-feeling layers from excessive thickness.
- Cabinet doors and drawers sticking due to too many layers interfering with hinges and edges.
Why Paint Buildup Happens
Excess paint buildup is typically caused by:
- Skipping sanding or priming between paint jobs.
- Using thick paint layers or applying multiple coats too quickly.
- Painting over old, failing finishes without proper surface prep.
- Humidity and poor ventilation, which prevent layers from fully curing.
If left unaddressed, paint buildup can lead to an uneven, messy look and even functional issues like stuck drawers or peeling paint.
Risks of Ignoring Paint Buildup

Ignoring paint buildup doesn’t just affect how your cabinets look—it can also impact their durability and functionality.
Aesthetic Issues
Over time, excessive layers of paint create a bulky and uneven surface, making cabinets appear unprofessional. Thick ridges and accumulated paint in grooves can result in a sloppy, textured finish that detracts from the overall aesthetic of your space.
Functional Problems
Beyond appearance, paint buildup can also cause functional problems. Cabinet doors and drawers may no longer close properly due to excessive layers interfering with their alignment. In some cases, the thick paint creates a sticky or rubbery texture, making cabinets difficult to open and use comfortably.
Durability Concerns
Durability is another major concern. Thick paint is more prone to chipping, peeling, or cracking, especially in high-traffic areas. When layers accumulate without proper adhesion, they can separate over time, leaving behind an unsightly, damaged finish. Additionally, excessive paint can trap moisture, which may lead to wood swelling, warping, or even rot.
Cleaning Difficulties
Cleaning also becomes more difficult when paint buildup is left unaddressed. Uneven layers create surfaces that attract and hold onto dust, grease, and grime, making routine maintenance a frustrating task.
Unlike a smooth, well-finished cabinet, these surfaces resist easy wiping, leaving your kitchen or bathroom looking dull and dirty despite regular cleaning.
To maintain your cabinets’ appearance and function, it’s best to address paint buildup as soon as possible.
Assessing the Condition of Cabinets Before Refinishing
Before stripping away paint buildup, inspect your cabinets to ensure they’re worth refinishing.
Structural Soundness Check
Look for:
- Water damage (swelling, warping, or soft spots).
- Hardware issues (broken hinges, misaligned doors).
- Operational problems (stiff or stuck drawers and doors).
- Pest damage (signs of termites or rot).
Material Considerations
Different cabinet materials require different refinishing methods:
- Solid Wood – Ideal for sanding and refinishing.
- MDF (Medium-Density Fiberboard) – Requires careful sanding and strong primers.
- Laminate – Cannot be heavily sanded; needs a high-adhesion primer.
If your cabinets are structurally sound, you can move forward with removing excess paint buildup.
Removing Excess Paint Buildup
Choosing the Right Paint Removal Method
| Method | How It Works | Pros | Cons | Best Products (Brand-Specific Suggestions) |
|---|---|---|---|---|
| Chemical Strippers (Best for Thick Layers) | Dissolve multiple layers of paint, making them easy to scrape off. | Requires minimal sanding, preserves intricate cabinet details. | Strong fumes; must be used in a well-ventilated space. | – Citristrip Paint & Varnish Stripping Gel (Low-VOC, citrus-based, indoor-friendly) – Smart Strip Advanced Paint Remover (Eco-friendly, biodegradable) – MAX Strip Paint & Varnish Remover (No harsh fumes, non-toxic) |
| Sanding (Best for Smooth Surfaces) | Abrasively removes layers of paint, smoothing out imperfections. | Leaves a professional, even finish; no harsh chemicals. | Messy and time-consuming, requires physical effort. | – DEWALT Orbital Sander (Best for large surfaces) – 3M Sanding Sponge (Fine/Medium Grit) (Great for edges and corners) – Mirka Abranet Sanding Discs (Long-lasting, dust-free sanding) |
| Grit Guide: | 80-100 Grit: Heavy paint removal. 150-180 Grit: Refining the surface. 220 Grit: Final smoothing before painting. |
|||
| Heat Gun (Best for Small, Detailed Areas) | Uses high heat to soften paint, making it easier to scrape. | Works well for small, intricate areas; no chemicals involved. | Risk of overheating and damaging wood; requires precision. | – Wagner Furno 500 Heat Gun (Adjustable temperature settings, ergonomic) – DEWALT Heat Gun with LCD Display (Precision control for detailed work) – SeekOne Heavy-Duty Heat Gun (Budget-friendly, reliable performance) |
Step-by-Step Paint Removal Process
- Preparation: Remove cabinet doors, drawers, and hardware.
- Apply Paint Stripper (If Using): Follow the manufacturer’s instructions.
- Scrape Off Paint: Use a plastic scraper to avoid damaging wood.
- Sand Down Residue: Smooth out any remaining paint.
- Clean Thoroughly: Wipe cabinets with a damp cloth or mineral spirits.
Repairing Cabinet Damage

Fixing Wood Imperfections
Over time, cabinets can develop various imperfections that need repair before repainting. Addressing these issues properly ensures a smooth and professional-looking finish.
Warped wood can often be salvaged if the damage is minor. For small warped sections, drying the area thoroughly and clamping it back into place can help restore its shape. However, if the wood is severely warped or swollen from water damage, replacement may be the best option.
Peeling veneer is another common issue, especially on MDF or plywood cabinets. To fix this, carefully lift the peeling section, apply a strong wood glue underneath, and press it down firmly. Using clamps or a heavy object can help secure the veneer while it dries, ensuring a seamless bond.
For chipped MDF, applying wood filler or epoxy is the best solution. MDF is prone to crumbling when damaged, so using a high-quality filler ensures durability. Once the filler has dried, sand it down until it blends smoothly with the surrounding surface.
Filling Gaps and Dents
When it comes to filling gaps and dents, choosing the right product makes all the difference. Wood filler is ideal for deeper scratches and holes, as it dries hard and can be sanded smooth. For minor dents and surface imperfections, putty works well, as it provides a softer, more flexible fill that blends easily with the surrounding material. Applying thin layers and allowing each coat to dry before sanding ensures a flawless repair before painting.
Choosing the Right Paint and Tools

Best Paint for Cabinets
Selecting the right paint for your cabinets is essential for achieving a durable, professional finish. Acrylic or latex-based paints are a popular choice due to their durability and ease of cleaning. They dry quickly and have lower fumes, making them a great option for DIY projects. For those looking for an ultra-smooth, long-lasting finish, oil-based paints are the best option. Though they take longer to dry and require stronger ventilation, they provide a tougher, more resilient coating.
The paint sheen also plays a crucial role in the final look and functionality. Satin or semi-gloss finishes are ideal for cabinets, as they provide a sleek, wipeable surface that resists moisture, grease, and daily wear. Glossy finishes offer extra durability but can highlight imperfections, while matte paints may not hold up well in high-use areas.
Essential Painting Tools
Using the right painting tools can make all the difference. High-quality synthetic brushes are best for detailed areas, providing precision and smooth application. For larger surfaces, foam rollers help achieve even coverage without leaving brush marks. If you’re looking for a flawless, professional-grade finish, a paint sprayer is an excellent choice, but it requires proper ventilation and masking to prevent overspray.
Importance of Priming
Before applying paint, priming is a non-negotiable step. A good primer improves adhesion, helping the paint bond securely to the surface. It also seals stains and wood tannins, preventing discoloration over time. For the best results, opt for shellac-based or bonding primers, which offer superior adhesion and stain-blocking properties, ensuring a smooth and long-lasting finish.
Step-by-Step Guide to Repainting Cabinets
Prepping the Surface
- Wipe down cabinets to remove dust.
- Apply primer in thin, even coats.
- Let primer dry before painting.
Applying Paint
- Use thin, even coats instead of thick layers.
- Allow full drying time between coats.
- Lightly sand between coats for a smooth finish.
- Apply a final protective sealant for durability.
When to Hire a Professional
Deciding between DIY and professional refinishing depends on the condition of your cabinets. DIY works well if there’s minimal paint buildup and you have the right tools. However, if your cabinets have thick, stubborn layers or need major repairs, it’s best to hire a professional.
When hiring a painter, watch out for red flags such as extremely low quotes, lack of references or reviews, and missing insurance or proper licensing. These warning signs often indicate poor-quality work or potential liability risks.
Conclusion
Addressing paint buildup on cabinets requires the right techniques and patience. Whether you strip, sand, or repaint, careful preparation will lead to a professional-looking finish. If you’re unsure or want a guaranteed flawless result, hiring a pro may be the best option.
Need expert cabinet refinishing? Contact us today for a free estimate!

