

Spending a weekend trying to stain a deck feels like a manageable project: crack open a can, grab a brush, and get to work. But learning how to stain a deck correctly is where many Columbia, SC homeowners run into real trouble, and the problems usually do not show up until weeks later, when the stain starts peeling, going blotchy, or sitting tacky long after it should have dried.
South Carolina’s heat and humidity make deck staining more unforgiving than most people expect. Get the timing wrong, skip a step, or pick the wrong product, and you are looking at a redo before summer is halfway through.
Key Takeaways
- Skipping or rushing surface prep is the leading reason deck stain fails early.
- Columbia’s heat and humidity create a narrow window for staining, so timing is everything.
- Over-applying stain causes more damage than under-applying.
- Choosing the wrong stain type for your wood’s age and condition leads to faster wear.
- Missing edges and corners creates uneven color and speeds up deterioration in those spots.
- A simple water test tells you whether the wood is actually ready before you open the can.
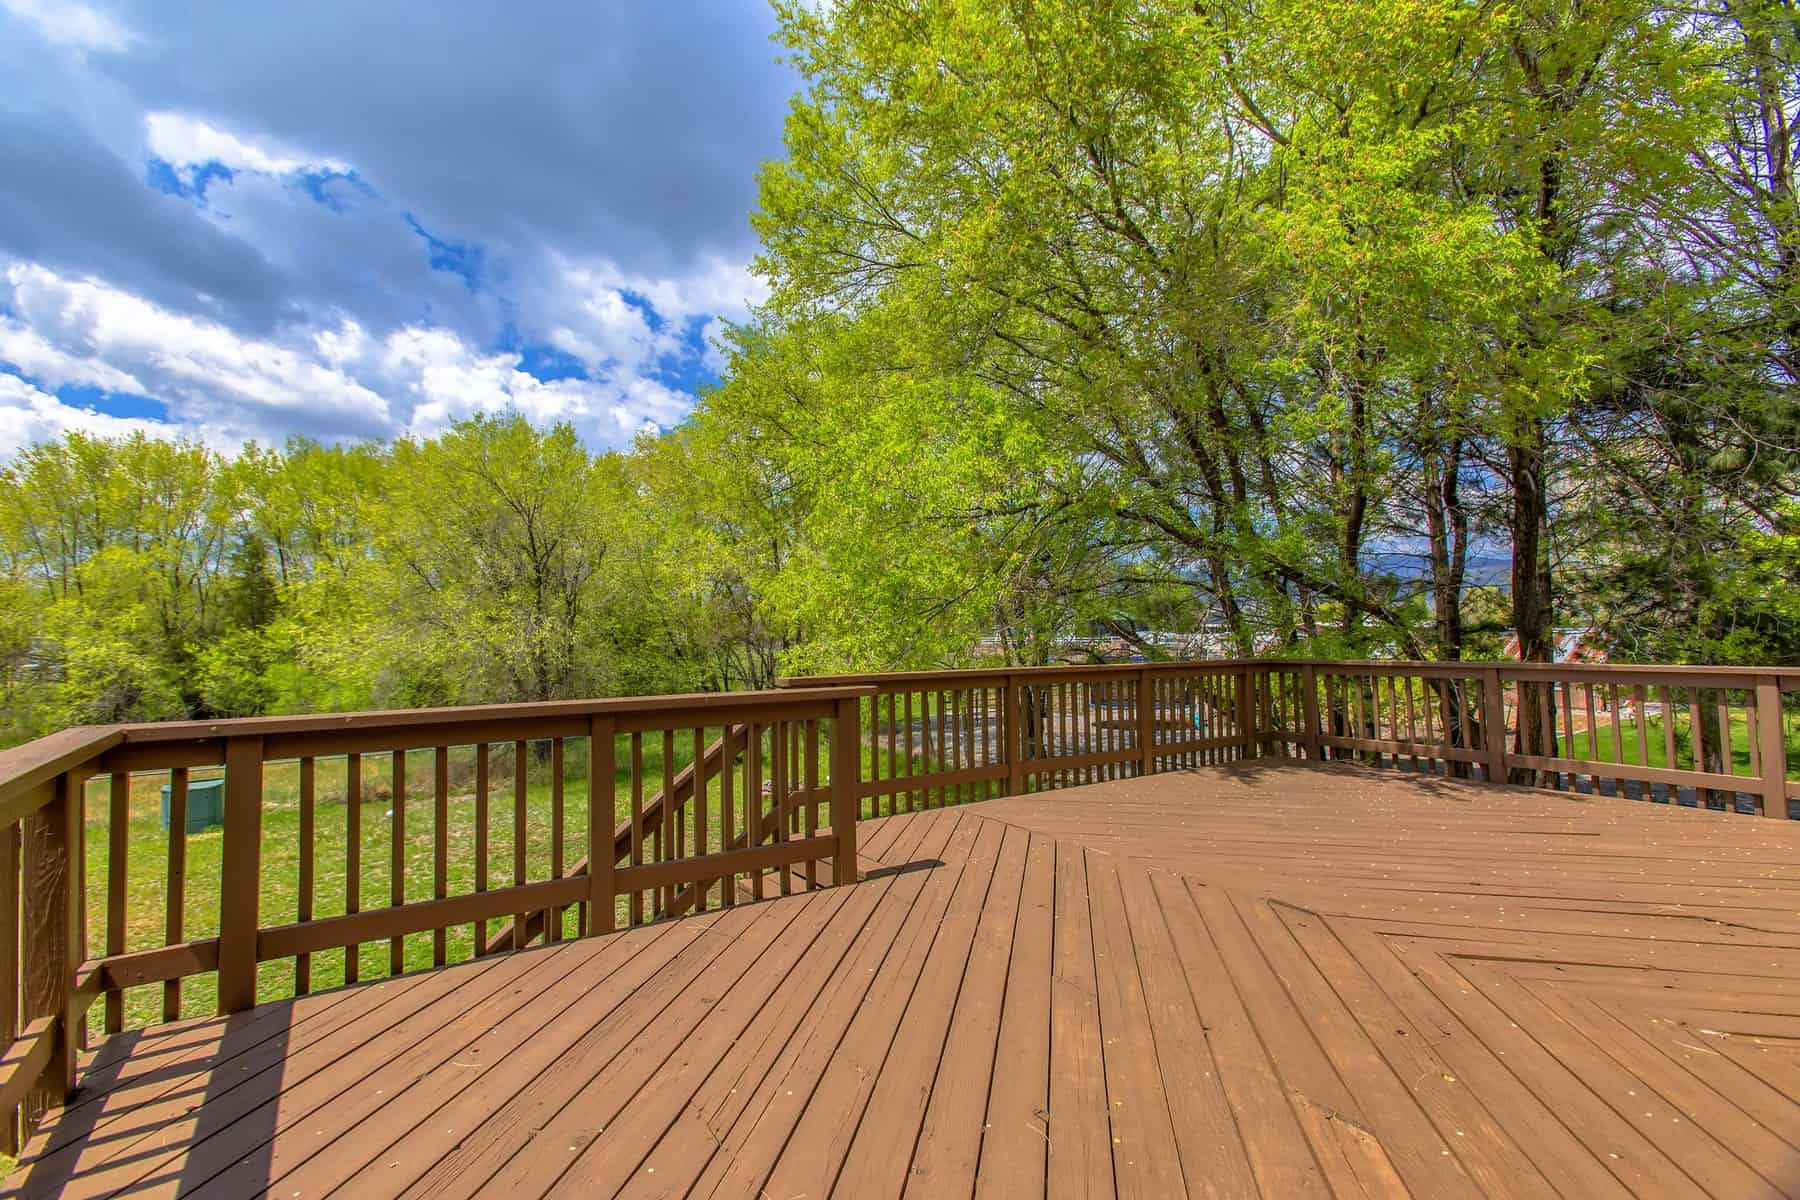
How to Stain a Deck Right: Why Surface Prep Is Non-Negotiable
Most deck staining failures do not start with the brush. They start days earlier, during the prep that did not happen.
One of the biggest mistakes homeowners make when learning how to stain a deck is applying it to a dirty, wet, or previously finished surface without proper prep. If the wood is not thoroughly cleaned and sanded, the stain cannot penetrate, which leads to patchy coverage or peeling.
Washing alone is not enough. Sanding smooths rough surfaces, removes old coatings, and opens the wood pores for better absorption, so sand along the grain with medium-grit paper, around 80 to 120 grit.
After sanding, the deck needs to dry completely before any stain touches it, ideally until the moisture content is below 15%. A quick test helps: sprinkle a little water on the surface, and if it beads up, the wood is not ready, while if it absorbs quickly, the wood is ready to stain after a cleaning.
New decks have their own timing issue. Preservatives in new pressure-treated wood can take up to 30 days to fully dry and evaporate, and staining before that window closes leads to poor absorption and splotchy results.
For a closer look at how skipping prep affects exterior finishes across wood surfaces, our post on the real cost of poor surface preparation covers how the same pattern shows up on siding, trim, and other exterior wood.
Why Timing Is the Hardest Part in South Carolina
Columbia’s climate throws extra obstacles at homeowners who want to stain a deck. The heat, humidity, and afternoon thunderstorms all compress the window for when staining will actually work.
Staining on rainy or overly humid days causes streaking and prevents proper absorption. The best temperature range is between 50°F and 85°F, with low humidity and shade where possible.
That is a tight range in South Carolina, where midsummer temps regularly hit the low 90s and humidity stays high through most of the warm months. Staining in direct afternoon sun adds another problem, since the heat evaporates stain before it soaks in, so the surface looks dry but has not bonded, and you will not know until it peels.
Starting early in the morning, before the sun is overhead, is the better call, and applying a second coat later in the afternoon if needed helps you avoid the worst of the heat. Knowing how to stain a deck in this climate is mostly about working with the weather instead of against it.
Rain timing matters just as much, so do not apply stain if rain is in the forecast over the next 12 to 24 hours. In Columbia, where pop-up afternoon storms are routine from May through September, checking the forecast the night before and again that morning is worth doing every time.
The same climate factors affect exterior paint on everything from siding to trim. Our post on exterior house painting temperature goes into detail on how South Carolina’s heat and humidity affect exterior finishes generally.
Choosing the Wrong Stain Type
Walk into any home improvement store and the stain aisle can feel overwhelming fast: transparent, semi-transparent, semi-solid, solid, and that is before oil-based versus water-based. Picking the wrong formula for your deck’s actual condition is a common and expensive mistake.
The three main categories, transparent, semi-transparent, and solid, each offer different levels of protection and coverage. Transparent stains highlight the natural grain but give minimal UV protection, which means more frequent reapplication, while solid stains fully cover the wood and offer the most protection against weathering and fading.
The age and condition of the wood matters more than most people factor in. A deck with graying, surface cracks, or significant wear is not a great candidate for transparent stain, since the damage shows through and the wood may not absorb the thinner product evenly, so semi-transparent or solid formulas tend to be more forgiving on older decks.
Oil-based and water-based stains each work best in different conditions, so pick the one that fits your climate and wood type for fewer touch-ups and better protection. For a deeper look at how the two hold up differently in South Carolina’s weather, our breakdown of oil versus latex exterior paint covers the same considerations.
More Stain Is Not Better
It seems logical that more stain should mean more protection, but in practice the opposite is true. Over-applying can cause stain to peel or crack when exposed to moisture, or leave a sticky surface that will not dry properly.
Too much stain results in poor absorption, uneven color, and a tacky finish that attracts dirt and debris while drying. The right approach is thin, even coats with patience between them.
Use a brush, roller, or sprayer to apply thin, even coats, then wipe off any excess after 15 to 30 minutes per the manufacturer’s instructions, and let each coat dry thoroughly before the next. This is also where lap marks form, the faint line where wet stain meets stain that has begun to set.
To avoid lap marks, keep the leading edge wet and brush wet stain into wet stain. Working in sections that run the full length of 2 or 3 boards at a time keeps the finish consistent from one end to the other.
Missing Edges, Corners, and End Grain
The flat surface of a deck is easy to cover. The spots that get skipped, edges, corners, railings, steps, and the cut ends of boards, are almost always where deterioration starts first.
Many homeowners focus on the main traffic areas and forget the harder-to-reach spots, which leaves uneven color and premature wear in those areas. End grain absorbs stain faster and dries out quicker without a proper coat.
Natural bristle brushes work well for getting stain into the wood fibers. Start by heavily coating the open end grain of the boards, then brush 2 or 3 boards at a time, from one end to the other in long, smooth strokes.
A small brush handles railings, spindles, and the gaps between boards. It takes more time, but leaving those areas uncoated means they will age faster and look noticeably different from the rest of the deck within a couple of seasons.
A Safety Note for Older Decks
If the deck structure or surrounding wood on your home is older and you are planning to sand, there is a safety consideration worth attention before you start. If a home was built before 1978, it may have lead-based paint, and the older the home, the more likely it is.
Sanding and scraping during renovation create dust that may contain lead. Using the right tools and following safe practices can minimize and control that dust while you work.
The EPA has guidance specifically for DIYers on lead-safe renovation practices that is worth reading before sanding any older painted or stained surfaces.
What Happens When You Skip Maintenance
Even a well-applied stain will not hold up forever. Columbia’s UV intensity, seasonal humidity swings, and the foot traffic a deck sees over a South Carolina summer all wear it down over time.
Plan to reapply stain every 2 to 3 years, depending on the product and how much weather exposure the deck gets. A simple test tells you when: if the stain is still repelling water, it is still performing, but when water stops beading and starts soaking in, it is time for a fresh coat.
Doing deck maintenance before visible wear appears makes the whole process easier and more manageable. Catching it early avoids the strip-and-redo process that costs significantly more in both time and money.
When to Call a Professional
Some deck situations go past what a straightforward approach to how to stain a deck can fix on your own. If a deck has multiple layers of old stain, significant peeling, or signs of water damage, a professional can strip, sand, and restain with the right products for the deck and climate, and can also flag structural issues that need attention first.
The same careful prep and product selection that decides whether a deck staining project succeeds applies to every exterior wood surface on a home. Trim, doors, and siding all respond the same way to humidity, heat, and skipped prep, and our post on why exterior trim paint fails so fast digs into the same root causes from a different angle.
Get Your Exterior Done Right
Knowing how to stain a deck that holds up through South Carolina’s summers comes down to solid prep, smart timing, the right product, and not rushing the details. Miss any one of those and you are likely starting over well before you planned.
Despres Painting works with homeowners across Columbia, Blythewood, Lexington, Irmo, and Forest Acres, SC. If the exterior surfaces on your home need attention, you can work with a local exterior painting team that understands how the climate affects wood finishes, and our professional deck and fence staining is built around that.
We are available Monday through Friday, 8 a.m. to 6 p.m. Call 803-991-4774 for a FREE estimate today.